
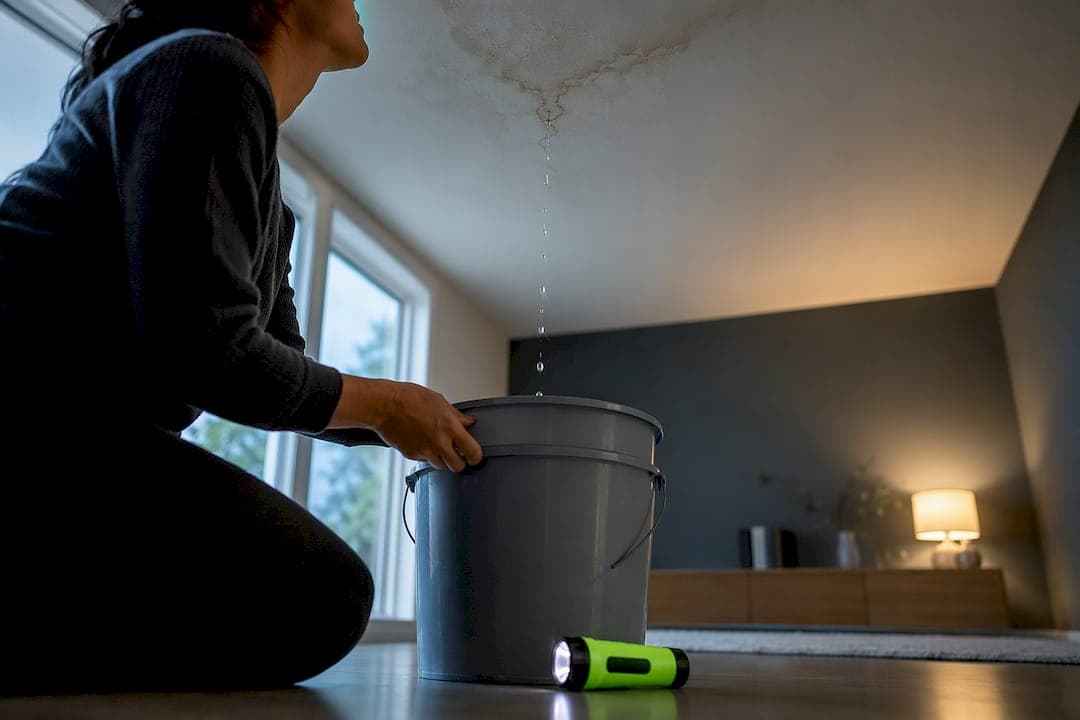
A new roof should not be leaking. Document the damage with photos, contain the water, and request a written attic-and-roof inspection before paying for any repair. Three things usually explain a fresh leak: an installation detail was missed, an attic or ventilation problem is mimicking a roof leak, or the warranty process has specific steps you need to follow first.
TL;DR:
- Most early leaks after roof replacement stem from installation errors in flashing, valleys, or penetrations rather than shingle defects.
- Water often travels along the roof deck or framing, meaning interior stains may not indicate the actual entry point, requiring attic inspection.
- Leaks during high winds or rain often point to flashing or vent sealing issues, while cold-weather leaks typically indicate condensation or ice dams.
- A written, on-site inspection report is essential before authorizing repairs, as it provides reliable documentation for warranty or insurance claims.
- Preventative maintenance involves annual inspections of flashing, valleys, and attic ventilation, plus prompt attention to new penetrations to avoid future leaks.
Table of Contents
- Most Common Causes of Early Leaks After Roof Replacement
- How to Inspect and Trace Where the Leak Is Coming From
- Timing and Weather Clues That Narrow Down the Cause
- Who Is Responsible: Workmanship vs. Manufacturer Warranties
- Same-Day Steps to Limit Damage While You Wait for an Inspection
- Permanent Repair Options and What They Typically Involve
- Maintenance and Inspection Habits That Prevent Future Leaks
- An Installer's View on Preventing These Leaks in the First Place
- Getting a Professional Inspection and Repair Done Right
- Sources
- FAQ
Most Common Causes of Early Leaks After Roof Replacement
Most leaks that show up soon after a roof replacement trace back to installation details, not the shingles themselves. A leak shortly after replacement is usually treated first as a workmanship or detail issue rather than ordinary wear, according to the NRCIA's guidance on determining roof leak causes.
The highest-priority spots to check are valleys, eaves, and penetrations. A correctly built assembly uses self-sealing membrane and metal flashing tied into the underlayment, with valley membrane sections overlapped by at least 6 inches.
- Flashing and penetration failures: pipe boots, chimney flashing, and dormer transitions are common leak points when sealed or installed incorrectly.
- Valley and underlayment problems: short membrane laps, gaps in coverage, or exposed fasteners let water in during heavy rain.
- New or altered penetrations: a plumber, electrician, or HVAC technician adding a vent or duct after the roof goes on can puncture the new assembly. Improper venting through the roof deck is a known source of leaks, as this field guide on dryer vent roof problems explains.
- Attic assembly issues: condensation, blocked ventilation, or ice dams can produce water stains that look exactly like a roofing leak but come from moisture trapped inside the attic.
Underlayment choice matters too, particularly in cold climates where ice and water shield placement affects how well the roof resists backed-up meltwater. This is covered in a guide to ice and water shield usage.
How to Inspect and Trace Where the Leak Is Coming From
Water rarely enters where the stain appears. It usually travels along the roof deck or framing before showing up on your ceiling, so any useful inspection starts inside the attic and works outward.
- Go into the attic with a flashlight and look for wet sheathing, dark water tracks, or damp insulation.
- Trace uphill from the stain, following rafters and sheathing toward the roof's high point rather than assuming the leak is directly above the mark.
- Check the exterior next: valleys, eaves, flashing around pipes and vents, fastener placement, and underlayment laps are the areas a professional inspector checks first.
- Use a controlled water test if the source is not obvious, running water over suspected sections one at a time while someone watches inside.
- Note the time and weather conditions when the leak appears, since that pattern will help confirm which section is failing.
For valley-specific leaks, there is a step-by-step homeowner guide to diagnosing and fixing valley leaks that walks through the same tracing process in more detail.
Pro Tip: Insist on a written inspection report, not a verbal opinion over the phone, before you authorize any chargeable repair.
A written on-site inspection is far more reliable than a phone diagnosis, and it gives you something concrete if the cause is later disputed, per the NRCIA's leak investigation guidance.
Timing and Weather Clues That Narrow Down the Cause
When a leak happens tells you almost as much as where it shows up.
- Leaks during wind-driven rain usually point to flashing, vertical wall intersections, or edge details where water is being pushed sideways instead of running down.
- Leaks only in cold weather with no rain usually mean condensation, poor attic ventilation, or ice dams, not a hole in the roof.
- Intermittent leaks often mean water is traveling inside the assembly before it drips through, so the interior stain rarely marks the true entry point.
Ice dams in particular can produce leaks that look identical to flashing failures. This is explained in an ice dam prevention guide. Whatever the pattern, write down the exact date, time, and weather conditions each time the leak appears. That record becomes useful evidence if you end up filing a warranty or insurance claim.
Who Is Responsible: Workmanship vs. Manufacturer Warranties
Two separate warranties usually apply to a new roof, and they cover different things. The contractor's workmanship warranty covers installation errors. The manufacturer's warranty covers defects in the shingles or other materials themselves. A leak caused by a missed flashing detail is a workmanship issue. A leak caused by a defective shingle batch is a materials issue, and the two warranties are often decided by different parties.
- Read the warranty and your signed contract closely before assuming who is at fault.
- Watch for "sole remedy" clauses, which can limit you to a specific fix, like manufacturer-directed repair, even if you would prefer another option.
- File any claim in writing, exactly as the warranty instructs.
- Keep every photo, invoice, inspection report, and piece of correspondence together in one place.
Warranty terms often decide the outcome before the leak itself does. Workmanship coverage should spell out exactly what it includes, while manufacturer-defect clauses can direct homeowners to the manufacturer as their only remedy, according to Roofing Contractor's explanation of warranties and material failures.
The FTC's consumer guidance on home warranties recommends checking your coverage, following the warranty's own claim instructions, submitting the request in writing, and keeping a record of every conversation. That paper trail protects you if the contractor and manufacturer end up pointing at each other. When the cause is disputed, an independent third-party inspector can run a water test and document the leak path in a way both sides will take seriously, per NRCIA.
Same-Day Steps to Limit Damage While You Wait for an Inspection
You do not have to wait for an inspector to start protecting your home.
- Contain the water with buckets or a tarp, and move furniture, electronics, and valuables out of the drip path.
- Check for wet wiring. If water is anywhere near an electrical fixture or outlet, shut off power to that area and call an electrician before touching anything.
- Photograph everything: the stain, the attic, standing water, and the weather outside at the time.
- Contact your installer and request a written inspection rather than a verbal estimate over the phone.
- If emergency tarping is needed, get a receipt and photos showing exactly where the tarp was placed. Emergency roof repair services typically document this as part of the job.
A temporary ceiling patch is fine if you can reach it safely, but it is not a substitute for finding and fixing the actual entry point.
Permanent Repair Options and What They Typically Involve
Once the cause is confirmed, the fix depends on how far the problem extends. Common repair types include:
- Flashing replacement, the most frequent fix for leaks around chimneys, pipes, and wall intersections.
- Valley membrane rework, needed when laps were too short or the membrane was damaged during installation.
- Localized underlayment and shingle replacement, used when the problem is confined to one section.
- Partial re-roof, appropriate when several details in one area failed together.
- Full re-roof, reserved for widespread installation errors or systemic material issues.
Caulk and surface patches often look like a fix but rarely stop water that is already traveling inside the roof assembly. A proper repair re-establishes the correct sequence of membrane and flashing layers so water sheds the way it is supposed to.
Manufacturer warranties sometimes specify which products or methods must be used for a repair to stay covered, so check those instructions before any work begins. Costs vary widely depending on scope: a single flashing repair is a small job, while a partial or full re-roof approaches the price of the original installation. An on-site estimate is the only way to get an accurate number, since roof pitch, access, and the extent of hidden damage all affect the price.

Maintenance and Inspection Habits That Prevent Future Leaks
A short annual routine catches most problems before they turn into leaks.
- Inspect flashing, valleys, gutters, and penetrations once a year and after any major storm.
- Check attic ventilation and air sealing, since poor airflow drives the condensation problems that mimic roofing leaks.
- Fix any new penetration, like a vent or satellite mount, as soon as it goes in rather than waiting.
- Keep dated photos and a simple maintenance log for every inspection and repair.
Pro Tip: Store your installation photos, warranty documents, and inspection reports in one folder so you are not searching for them during a leak.
An Installer's View on Preventing These Leaks in the First Place
Most early leaks trace back to a missed detail, not a bad batch of shingles. Some contractors emphasize owner-supervised installation and detailed documentation specifically to catch small errors, like a short valley lap or a misplaced fastener, before they become a callback. When a leak does happen, the same checklist applies: attic entry first, trace uphill from the stain, check valleys and flashings, verify fastener placement, and confirm underlayment sequencing. A documented, methodical process protects your warranty position far better than an ad-hoc repair.
— Heather
Getting a Professional Inspection and Repair Done Right
Attic-and-roof inspections with a written report, emergency tarping, and help navigating warranty or insurance communication are offered for homeowners who want a professional to handle the diagnosis.

This kind of inspection is optional, but it gives you documentation you can use with a manufacturer or insurer regardless of who ends up doing the repair. If the cause turns out to be workmanship-related and a repair is needed, you can review roof replacement, roof repair, and storm damage roofing services and request an inspection to see what your options look like.
Sources
- NRCIA — Roof leak cause determination
- Warranties and material failures explained | Roofing Contractor
FAQ
How long should a roof last before leaking?
A properly installed roof should not leak at all in its early years, since leaks shortly after installation almost always point to a workmanship or detail problem rather than normal aging. If a roof less than a year or two old is leaking, treat it as an installation issue and request an inspection rather than assuming the materials wore out.
My new roof is leaking. What should I do first?
Contain the water, photograph the stain and the weather conditions, and check the attic for wet sheathing or insulation before calling anyone. Then request a written inspection from your installer, since a documented on-site finding protects you far better than a phone diagnosis, according to NRCIA's guidance.
How long does it take for new roof shingles to seal?
Sealing time depends on temperature and sun exposure, and shingles generally need warm weather to activate their adhesive strips fully. A leak in the meantime is not necessarily related to sealing, so it is still worth checking flashing, valleys, and penetrations first.
Why does my roof leak sometimes and not others?
Intermittent leaks usually mean water is entering during specific conditions, like wind-driven rain or a cold snap, and traveling along the roof deck before it shows up inside. Leaks tied to wind and rain often point to flashing or edge details, while leaks that appear only in cold, dry weather usually mean condensation or ventilation problems, as covered in AM Exteriors' ice dam prevention guide.