
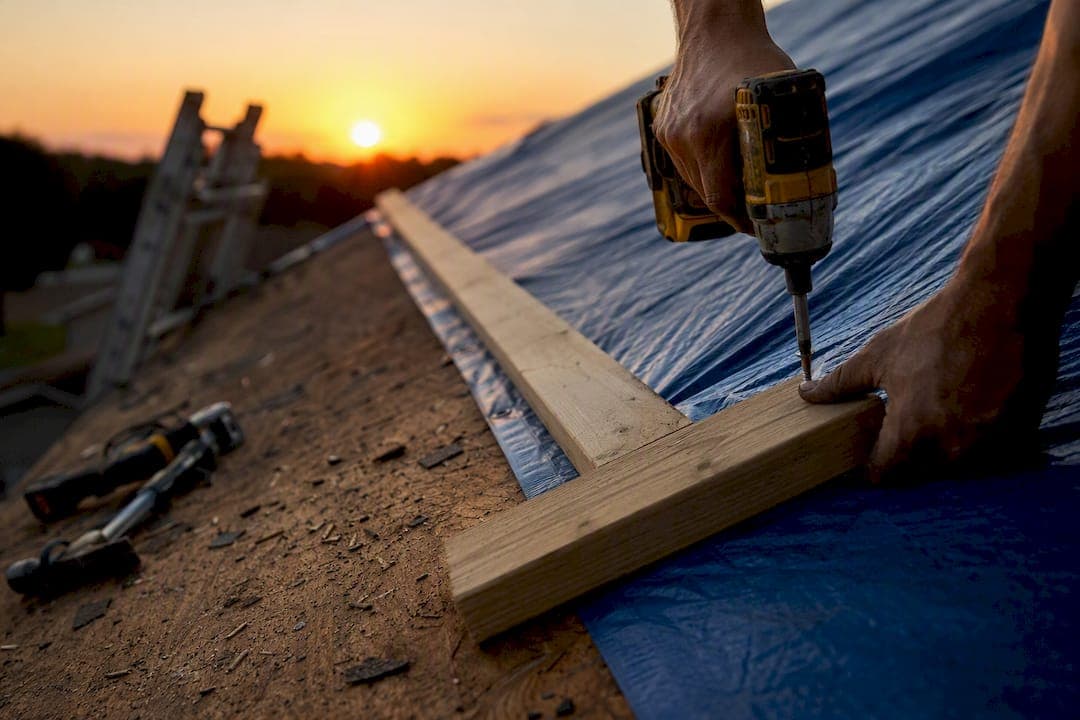
Yes, use an emergency roof tarp now if water is actively entering your home and it's safe to get on the roof. A tarp is mitigation, not a repair. It buys time, nothing more. DIY materials typically run $30 to $150 depending on tarp size and hardware, while a contractor's emergency tarping service commonly falls in a much wider range depending on roof size and access.
Before you touch a ladder:
- Move furniture, electronics, and valuables away from the leak path.
- Photograph the damage from inside and outside, with a timestamp visible if possible.
- Stop active water entry only if the roof is dry, calm, and safe to walk.
Key Takeaways
An emergency roof tarp stops water intrusion temporarily, but only heat-welded vinyl or polyethylene tarps anchored with 2x4 battens hold up until a permanent repair can begin.
| Point | Details |
|---|---|
| Tarp is mitigation, not repair | Use it to stop water entry now, then schedule permanent repairs within days to weeks. |
| Skip camping tarps | Choose waterproof vinyl or poly with heat-welded seams, not stitched water-resistant fabric. |
| Anchor with battens, not nails | Sandwich tarp edges in 2x4 boards and fasten every 12 to 18 inches into solid decking. |
| Document before you touch anything | Photograph and video all damage for your insurer before disturbing the site. |
| Call a pro for large or steep damage | Am-exteriors provides emergency tarping, insurance documentation, and follow-up permanent repair in Southeast Wisconsin. |
Where to Find More Safety and Recovery Guidance
- FEMA covers disaster mitigation and recovery assistance for homeowners after major storms.
- OSHA's ladder and fall-protection guidance outlines the safety rules that apply to any homeowner working at height.
- For structured post-storm damage reporting, flood inspection and damage reporting tools can help organize documentation before a claim is filed.
Table of Contents
- What an Emergency Roof Tarp Actually Fixes (and What It Doesn't)
- First-Hour Checklist: Protecting Your Home Before You Tarp
- Which Tarp Material Actually Stops Water Long-Term?
- Tools and Safety Prep Before You Climb Up
- How to Install a Temporary Roof Tarp Safely
- Keeping the Tarp Secure Until Repairs Start
- Mistakes That Cost Homeowners Money and Insurance Claims
- What Does Emergency Roof Tarping Cost?
- How Long Can a Roof Tarp Stay Up?
- What Roofing Contractors Do Differently
- Get Emergency Tarping and Permanent Repair Help in One Call
- Sources
What an Emergency Roof Tarp Actually Fixes (and What It Doesn't)
A tarp stops water from pouring through a hole. It does not stop wind from finding a new gap, it does not stabilize damaged decking, and it does not satisfy your insurer's expectation of a permanent fix. Think of it as a bandage on a wound that still needs stitches. The tarp keeps things from getting worse while you line up a real repair.
This distinction matters because homeowners sometimes treat a tarp as a solved problem and let it sit for months. That's when trapped moisture starts rotting the deck underneath, turning a $400 emergency job into a $4,000 structural one.
First-Hour Checklist: Protecting Your Home Before You Tarp
Work through this order before you ever climb a ladder:
- Protect the interior. Move belongings, set out buckets or tarps to catch drips, and cut power to any circuit near standing water.
- Check for electrical hazards. If wiring is exposed or you smell burning, call 911 or your utility company before doing anything else.
- Photograph and film the damage. Get wide shots and close-ups from every angle, both inside and out, before you disturb anything.
- Inspect the attic. Look for active drips, wet insulation, or daylight showing through the roof deck.
- Decide if tarping now is safe. Calm winds, dry shingles, and daylight are the minimum bar. If any of those are missing, wait.
Pro Tip: Photograph the damage before you touch it, not after. Adjusters and contractors both rely on "as-found" photos to scope the job accurately, and those images often speed up claim approval.
Which Tarp Material Actually Stops Water Long-Term?
Not every blue tarp at the hardware store is built for a roof. Camping tarps and cheap "water-resistant" sheeting use stitched seams, and stitching creates thousands of tiny needle holes that wick water straight through under wind-driven rain. Real roof protection needs a tarp that's actually waterproof, not just water-resistant, with heat-welded seams and reinforced hems.
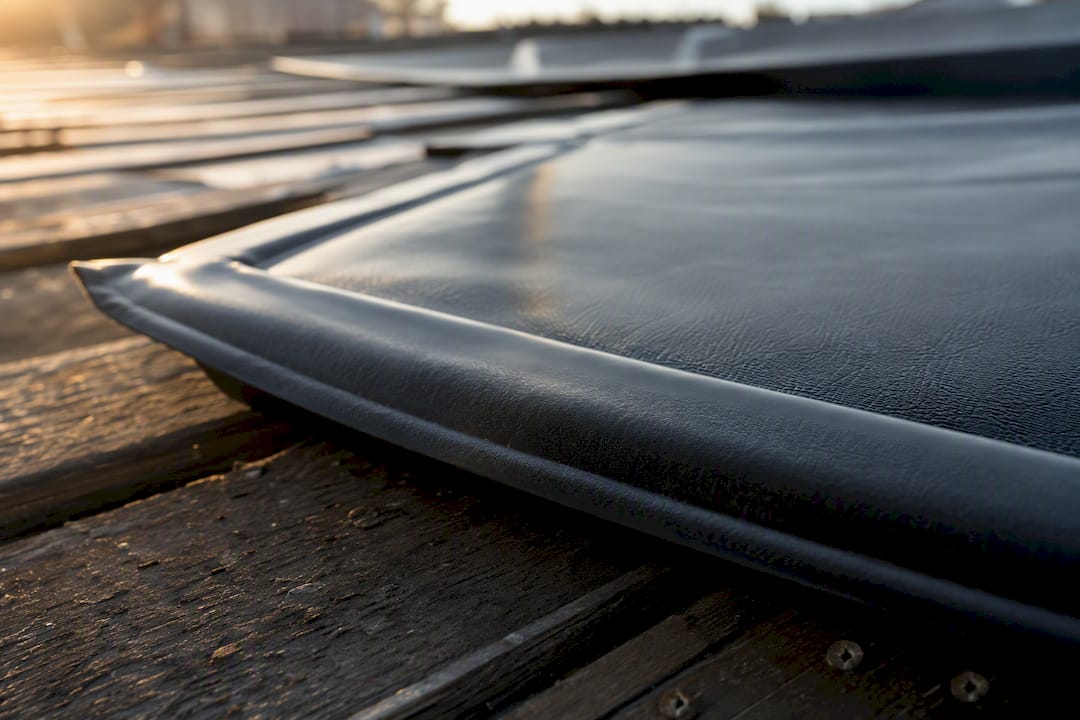
Two materials dominate the emergency tarp market. Polyethylene (poly) tarps are lightweight, affordable, and easy for one person to handle, making them a solid choice for smaller residential jobs. Vinyl tarps cost more but hold up better against UV exposure and sustained wind, which matters if permanent repairs are weeks away rather than days.
For sizing, measure the damaged area and add at least 3 to 4 feet of overlap on every side, extending fully over the roof ridge whenever the damage sits near the peak. A tarp that stops short of the ridge just funnels wind and rain right back underneath it.
Tools and Safety Prep Before You Climb Up
Gather everything on the ground first. You want zero trips back down mid-install.
- Sturdy extension ladder rated for your height, plus a spotter
- Cordless drill or driver with exterior-grade screws (not roofing nails through the tarp)
- Two or more 2x4 boards cut to length for battens
- Utility knife, tape measure, and work gloves
- Sandbags or concrete blocks for low-slope or flat sections
- A safety harness if your roof pitch exceeds a gentle slope
Skip the job entirely if the roof is steeper than a comfortable walking slope, if shingles are wet, or if wind gusts are noticeable. OSHA's ladder and fall-protection guidance exists because falls from residential roofs send thousands of people to the ER every year, and a temporary tarp job isn't worth that risk. Work in pairs, and take your "before" photos from the ground before you climb.
How to Install a Temporary Roof Tarp Safely
Once conditions check out, follow this sequence:
- Measure and cut your tarp to cover the damage with 3 to 4 feet of overlap on all sides, extending past the ridge if the hole is near the peak.
- Carry the tarp up folded, not open, so wind can't grab it while you're on the ladder. Unfold it only once you're stable on the roof.
- Position from the ridge down. Laying the tarp peak first lets gravity and shingle lap work with you instead of against you, and it's how experienced crews handle it to shave time off the install.
- Fold the tarp edges around a 2x4 batten so the wood sandwiches the material, then drive exterior screws through the batten and into solid decking, spacing fasteners every 12 to 18 inches.
- Never screw or nail directly through open tarp material. That single mistake is the leading cause of tarps that tear loose in the next windstorm.
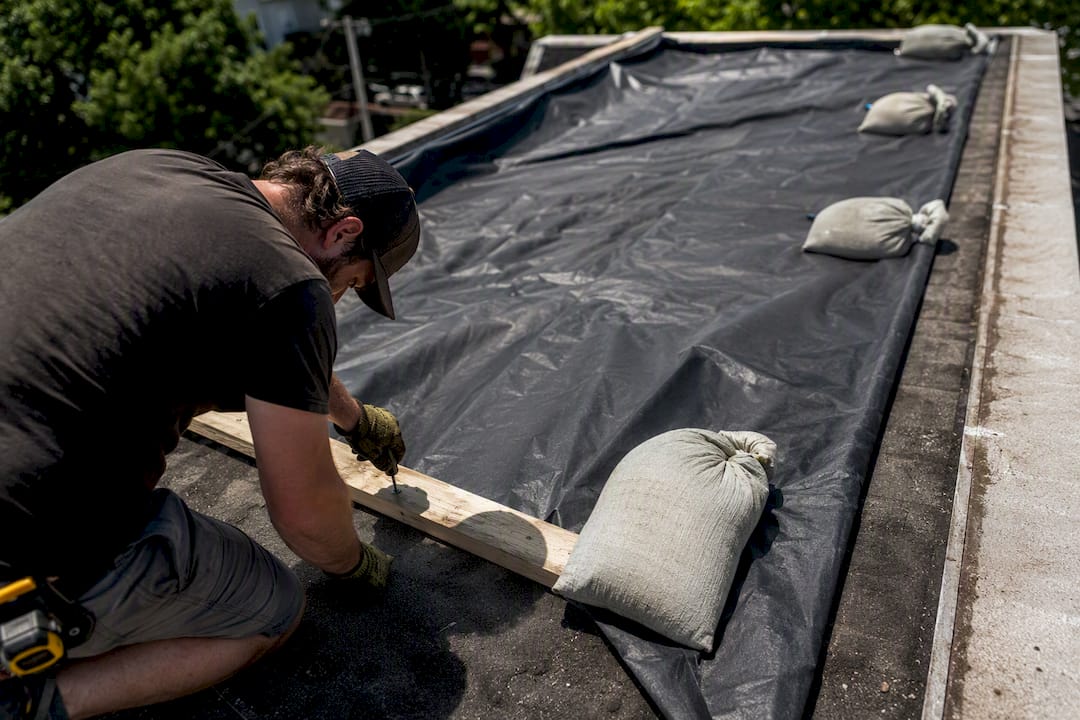
- On flat or low-slope roofs, skip the battens for the edges and weigh down the perimeter with sandbags or concrete blocks instead.
- Smooth out wrinkles as you go. Loose folds catch wind and create pooling pockets that eventually work water back underneath.
Pro Tip: If you have two tarps and one large hole, overlap them shingle-style with the top tarp higher on the roof. Water needs a downhill path, not a seam to test.
Keeping the Tarp Secure Until Repairs Start
Battens screwed into decking hold up better in sustained wind than sandbags alone, but sandbags remain the right call on flat roofs where you can't anchor into a slope. Adhesive-backed tarp weights split the difference for low-pitch sections where drilling isn't practical.
Check the tarp after every significant wind or rain event. Walk the ground, not the roof, and look for pooling water, battens that have loosened, or grommets that have torn through. Tarps left unchecked tend to develop small gaps that widen fast once wind gets underneath the edge. Retighten loose screws, add a second batten at corners if the material is stressed, and replace the tarp outright once you see UV cracking or fabric thinning.
Mistakes That Cost Homeowners Money and Insurance Claims
The same handful of errors show up again and again on emergency tarp jobs:
- Nailing or screwing straight through the tarp instead of sandwiching it in a batten
- Skipping the 3 to 4 foot overlap and leaving damage exposed at the edges
- Grabbing a camping tarp because it's what's in the garage
- Climbing up in wind, rain, or after dark to save time
- Walking on wet shingles or an already-compromised deck
On the insurance side, document everything before you disturb it: photos, video, timestamps, and receipts for every tarp, screw, and board you buy. Keep a written log of any adjuster visits and get itemized estimates from contractors rather than vague quotes. Insurers expect you to mitigate further damage, but that duty doesn't extend to performing permanent repairs before an adjuster has reviewed the loss, and jumping ahead can complicate your claim.
What Does Emergency Roof Tarping Cost?
DIY materials for a small patch job usually land between $30 and $150, covering the tarp, battens, and fasteners. Hiring it out costs more but includes labor, ladder work, and often same-day response. Professional emergency tarping services price the job based on several variables that shift the total significantly.
| Factor | How It Affects Price |
|---|---|
| Roof size | Larger covered areas need more material and labor time |
| Roof slope | Steep pitches require harnesses and slower, careful work |
| Access difficulty | Multi-story homes or obstructed yards raise setup time |
| Timing | After-hours or storm-surge demand often adds a premium |
Before hiring anyone, ask a few pointed questions: Are you licensed and insured in this state? Will you provide documented photos for my claim? What's your realistic response time tonight versus tomorrow? Watch for red flags like a contractor demanding a large upfront deposit or pushing you to sign an assignment-of-benefits form before they've even inspected the roof.
How Long Can a Roof Tarp Stay Up?
Standard poly tarps hold up roughly 30 to 90 days depending on thickness and sun exposure, while heavier vinyl tarps installed correctly last longer but are still temporary by design.
- Target scheduling permanent repairs within days to a few weeks, not months
- UV exposure, wind, and snow load all shorten a tarp's useful life faster than expected
- Long-term tarp use risks trapped moisture, deck rot, and insurance pushback if repairs stall too long
What Roofing Contractors Do Differently
Pros pre-cut battens on the ground, install ridge-down for speed, and use commercial-grade vinyl rather than store-bought poly. They also check for rot, compromised decking, and damaged flashing that a tarp alone will never reveal, and they photograph the site methodically enough to satisfy an adjuster on the first pass.
Pro Tip: A tarp only covers what you can see. A contractor's follow-up inspection often catches the hidden damage that decides whether your claim covers a patch or a full replacement.
A Contractor's Take on Acting Fast
I've seen small leaks turn into ceiling collapses over a single unattended weekend. Document everything, tarp what's safe, and call a professional the moment the damage looks bigger than a patch job.
Get Emergency Tarping and Permanent Repair Help in One Call
Once the tarp is up, the real question becomes who fixes it right and how fast. Am-exteriors handles emergency roof tarping across Southeast Wisconsin the same way our crews handle everything else: measured battens, photographed documentation for your adjuster, and a scheduled plan for the permanent fix so the tarp never becomes a long-term Band-Aid.

We coordinate directly with insurance carriers on storm damage claims, so you're not stuck translating adjuster language on your own, and we can move straight from emergency roof repair into a full roof replacement once the scope is confirmed. If your damage involves siding or gutters too, our team can assess repairs in the same visit. Call Am-exteriors for a same-window inspection and get a documented plan before the next storm rolls through.
Sources
- How to tarp a roof safely | Humphrys
- FEMA
- Emergency Roof Tarp Guide | ProCraft Local
- How to safely tarp a damaged roof | Storm Ready NJ