
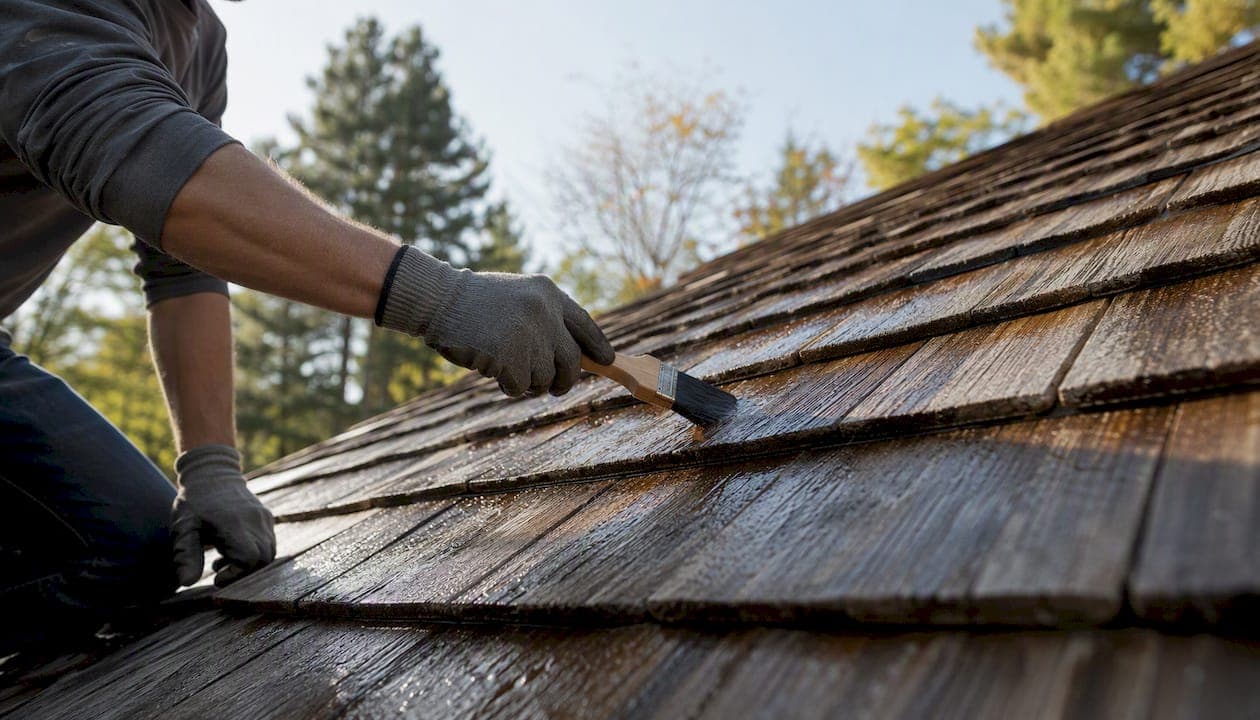
Annual inspection, seasonal debris clearing, moss prevention, and a preservative treatment every 3–5 years are the core routine that protects a cedar shake roof and extends its life. According to Capital Forest Products, well-maintained cedar shakes commonly last 25–40 years, with ideal conditions pushing past 50. Start here:
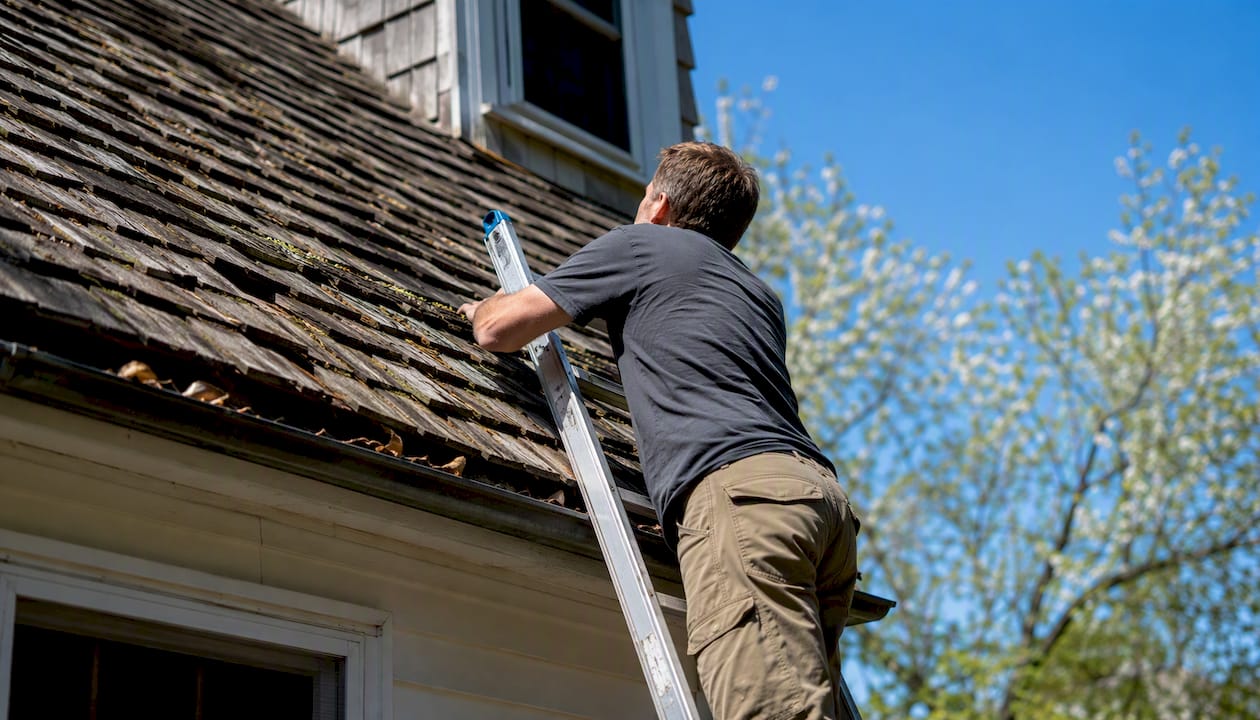
- Inspect visually every spring and after any major storm. Walk the perimeter and use binoculars; do not walk on aged shakes unless you have roofing experience.
- Clear debris every fall and spring. Leaves, pine needles, and branches trap moisture and feed moss.
- Check gutters and downspouts for blockages that back water up under the eaves.
- Look for cupped, split, or missing shakes, dark staining, and any moss or lichen patches.
- Treat with a breathable preservative or water repellent every 3–5 years, following the product label and EPA registration requirements.
- Call a professional if you find active leaks, heavy moss infestation, soft or spongy decking, or if the roof is steep, fragile, or you are not comfortable on a ladder.
Pro Tip: Wear non-slip footwear, use a safety harness anchored to a ridge anchor, and never work on a wet or frost-covered roof. Falls from roofs are a leading cause of serious injury for homeowners doing DIY maintenance.
Key Takeaways
A consistent cedar shake maintenance routine, covering annual inspection, seasonal debris control, and preservative treatment every 3–5 years, is the most reliable way to reach the full 25–40 year lifespan cedar roofs are capable of.
| Point | Details |
|---|---|
| Annual inspection is non-negotiable | Inspect every spring and after major storms; check valleys, flashing, moss, and attic ventilation. |
| Soft-wash is the safe cleaning method | High-pressure washing damages wood fiber; use low-pressure application with oxygen-based or diluted bleach solutions. |
| Never seal cedar roofs | Film-forming sealants trap moisture and accelerate rot; use breathable water repellents or EPA-registered preservatives instead. |
| Treat every 3–5 years | Apply a penetrating, non-film-forming preservative on a clean, dry surface; reapply sooner in humid or shaded conditions. |
| Am-exteriors serves SE Wisconsin | Am-exteriors provides written-scope inspections, cleaning, and cedar repair or replacement across Southeast Wisconsin. |
Table of Contents
- Why do cedar shakes fail? The core causes every owner must manage
- How often should you inspect your cedar roof? A seasonal schedule
- How to clean cedar shakes safely: step-by-step methods
- How do you prevent and treat moss, algae, and lichen on a cedar roof?
- What surface treatments actually protect cedar, and which ones cause damage?
- Common cedar shake repairs: what you can do yourself and when to hire out
- Power-washing cedar roofs: why it's risky and how to hire safely
- What does a professional cedar-roof maintenance visit include?
- A Wisconsin contractor's take on what cedar maintenance actually gets wrong
- Am-exteriors handles cedar-roof inspections and maintenance in SE Wisconsin
- Sources
Why do cedar shakes fail? The core causes every owner must manage
Cedar shake roof maintenance starts with understanding what actually kills a cedar roof. Moisture retention is the primary driver of premature failure. When shakes stay wet, wood fibers break down, rot sets in, and biological growth accelerates. The OSU Extension Service notes that warm, humid environments can degrade cedar several times faster than dry climates, which is why the same maintenance schedule does not work equally in Wisconsin and Arizona.
The main failure modes:
- Moss and algae growth — moss acts like a sponge, holding moisture against the wood surface for days after rain stops. The Cedar Shake & Shingle Bureau (CSSB) calls moss a functional warning sign: its presence signals trapped-moisture conditions that need both removal and investigation of shading or ventilation causes.
- Wet/dry cycling — repeated swelling and shrinking causes cupping, cracking, and splitting. This is especially aggressive in Midwest climates with freeze-thaw cycles.
- UV weathering — prolonged sun exposure grays the surface and breaks down wood fibers, reducing the shake's structural integrity over time.
- Poor ventilation and installation — inadequate attic airflow keeps the underside of the roof deck damp, accelerating rot from below even when the surface looks fine.
Pro Tip: Roof pitch matters. Steeper pitches shed water faster and tend to stay cleaner. If your roof is low-pitched (below 4:12), increase your inspection frequency and prioritize debris removal, since water lingers longer on shallow slopes.
How often should you inspect your cedar roof? A seasonal schedule
At minimum, do a visual inspection every spring and a lighter check every fall. Add a post-storm check after any hail event, high winds, or heavy snow load. The USFS Research guidance on wood shake and shingle roofs emphasizes that walking on aged shakes can cause cracking, so keep ground-level and ladder-based inspections as your default.
| Season | Task |
|---|---|
| Spring | Full visual inspection (binoculars from ground + ladder at eaves); clear all debris; check gutters and downspouts; look for moss, split shakes, and flashing gaps |
| Summer | Apply preservative or water repellent if due (dry weather required); trim overhanging branches; check attic ventilation |
| Fall | Clear leaves and debris before freeze; inspect valleys and flashing; clean gutters |
| Post-storm | Check for displaced or split shakes, flashing movement, and any new interior water stains |
Inspection checklist for each visit:
- Valleys — look for debris buildup, dark staining, and any lifted or missing shakes
- Flashing at chimneys, skylights, and walls — check for gaps, rust, or lifted edges
- Ridge and hip lines — inspect for moss, missing caps, and ridge strip condition
- Individual shakes — note cupping, splitting, splintering, or dark rot spots
- Gutters and downspouts — confirm they are clear and properly attached
- Attic interior — look for daylight, water stains on the sheathing, or soft spots
For attic checks, use a flashlight on a sunny day. Any pinhole of daylight through the decking means a shake is missing or badly split. Soft or spongy sheathing means rot has reached the structure. Both require a professional assessment before the next rain.
How to clean cedar shakes safely: step-by-step methods
Soft-wash or manual debris removal is the safe default for cedar shake roof cleaning. OSU Extension and USFS guidance both flag high-pressure washing as a common source of damage: excessive pressure strips wood fiber, fractures shakes, and accelerates degradation. Avoid it unless an experienced cedar specialist is performing controlled low-pressure cleaning with verified PSI and nozzle specs.
Standard soft-clean method
- Put on PPE first. Non-slip boots, safety glasses, chemical-resistant gloves, and a respirator if using bleach-based solutions.
- Clear loose debris with a soft-bristle brush or leaf blower on low setting. Work down-slope, never across or up.
- Pre-wet the roof surface with plain water to dilute any runoff and protect plants below.
- Apply your cleaning solution with a low-pressure garden sprayer or pump sprayer. Work in small sections, starting at the top.
- Let the solution dwell for 10–15 minutes (oxygen-based) or 5–10 minutes (bleach-based). Do not let it dry on the surface.
- Rinse thoroughly with low pressure, always directing water down-slope. Never spray up under the shakes.
- Protect plants and soil by pre-soaking surrounding vegetation and rinsing again after cleaning.
Cleaning recipes
Oxygen-based cleaner (sodium percarbonate): Mix 1 cup of sodium percarbonate powder per gallon of warm water. This is the gentler option and preferred for light algae, mildew, and general grime. Products like oxygen-based commercial roof cleaners use this chemistry. Dwell time: 10–15 minutes. Rinse down-slope.
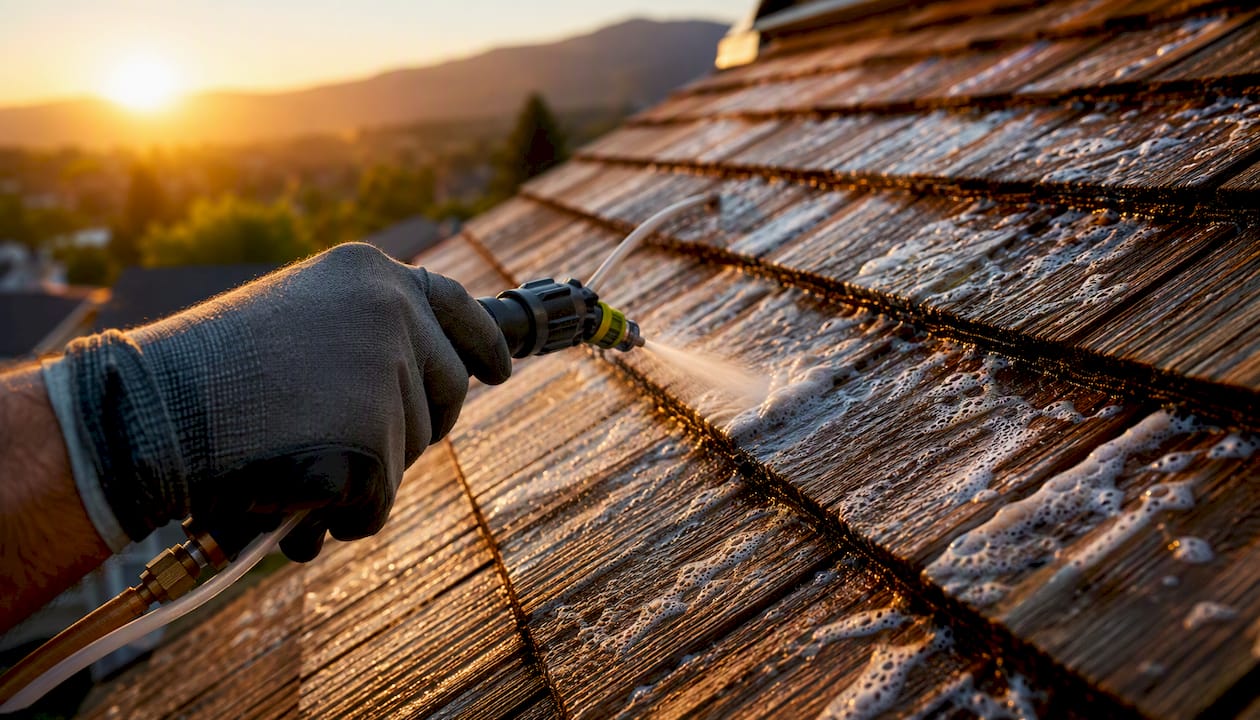
Household bleach solution: Mix 1 part household bleach (sodium hypochlorite) with 3 parts water. Add a small amount of dish soap as a surfactant. Use for heavier biological growth. Dwell time: 5–10 minutes. Rinse thoroughly down-slope and protect all vegetation. Test on a small, inconspicuous patch first.
Pro Tip: Always test any cleaning solution on a hidden section of the roof and wait 24 hours before treating the full surface. Some shakes react differently based on age, prior treatment, and wood density.
How do you prevent and treat moss, algae, and lichen on a cedar roof?
Prevention is more effective than removal. The CSSB recommends zinc or copper ridge strips as a passive, long-term moss deterrent: rainwater picks up metal ions and carries them down the roof surface, inhibiting biological growth. Trim any overhanging branches to increase sunlight and airflow. Keep gutters clear so water does not back up and keep the lower courses wet.
For existing moss and algae:
- Soft scraping — use a plastic scraper or soft-bristle brush to gently lift moss mats. Work down-slope and avoid gouging the wood surface.
- Chemical treatment — apply an EPA-registered biocide labeled for wood roofs. Wet the moss before applying; dry moss repels liquid. Follow the product label for dwell time, dilution, and PPE requirements. The label is a legal document, not a suggestion.
- Rinse — flush treated areas thoroughly with low-pressure water after the dwell period.
Pros and cons of common control methods:
- Zinc/copper ridge strips: Low maintenance, passive, and effective over time. Upfront installation cost; less effective on lower roof sections far from the ridge.
- EPA-registered biocides: Fast-acting on active growth. Require careful handling, PPE, and label compliance. Some products are restricted-use and require a licensed applicator.
- Mechanical removal (scraping): No chemicals needed. Labor-intensive; risk of shake damage if done aggressively or with metal tools.
Do not use unlabeled or homemade formulations on a surface that drains to soil or storm drains.
Heavy moss infestation, particularly where moss has rooted deeply into cracks or where the roof surface feels soft underfoot, means call a professional. Fragile or aged shakes cannot withstand the mechanical stress of aggressive removal, and a contractor can assess whether the underlying decking has been compromised.
Pro Tip: Lichen is harder to remove than moss or algae. It bonds chemically to the wood surface. Chemical treatment loosens it, but full removal often takes multiple applications over one to two seasons. Do not force it off mechanically.
What surface treatments actually protect cedar, and which ones cause damage?
The single most important rule: do not seal a cedar roof. The CSSB is direct on this point. Film-forming sealants and waterproofing products trap moisture inside the wood, accelerating rot rather than preventing it. Cedar roofs need vapor transmission. The right products allow the wood to breathe while repelling liquid water.
What to use:
- Breathable water repellents — penetrating, non-film-forming products that shed water without sealing the surface. Reapply every 3–5 years depending on climate and exposure.
- EPA-registered wood preservatives — copper naphthenate is a well-documented option. Inspectapedia's Morrell summary notes application rates around 1 gallon per 100 square feet, with some Pacific Northwest reports citing up to five years of protection under favorable conditions.
- Semitransparent UV-inhibiting stains — protect against UV graying while allowing moisture vapor to escape. Appropriate for roofs where color retention is a priority.
Products like Messmer's, DEFY, and Seal Once have been referenced in field studies as examples of penetrating finishes. A Washington State Parks/NPS field study tested 10 penetrating, non-film-forming finishes on western redcedar and found variable short-term performance across products and climates. No single finish is universally protective. That finding matters: do not assume a product that worked well in a Pacific Northwest climate will perform the same in Southeast Wisconsin's freeze-thaw conditions.
What to avoid:
- Film-forming sealants and waterproofers
- Motor oil, diesel, or unfortified oils (these are not EPA-registered and can accelerate degradation)
- Any product not labeled for wood roofing applications
- After-market treatments applied to factory-treated or pressure-impregnated shakes without written permission from the original treater, per the CSSB Roof Manual
Pro Tip: Preservative treatment is most effective on clean, dry wood. Apply only after cleaning and after at least two to three days of dry weather. Wet wood cannot absorb a penetrating finish properly.
Reapplication every 3–5 years is a general guideline. In high-humidity or heavily shaded environments, you may need to reapply closer to the three-year mark. Inspect the surface: if water no longer beads on the shake surface, it is time to reapply.
Common cedar shake repairs: what you can do yourself and when to hire out
Minor repairs are feasible for a careful homeowner. Structural decay, extensive rot across multiple courses, or failed flashing at complex intersections require a professional. The USFS guidance is clear that walking on aged shakes risks cracking them, so limit your time on the roof surface and use a roof ladder or crawl board to distribute your weight.
How to replace a single shake
- Locate the damaged shake and slide a flat pry bar under it to lift the nails. Work carefully to avoid disturbing adjacent shakes.
- Split the old shake with a chisel if it will not pull free, and remove the pieces.
- Cut the old nails flush with the deck using a hacksaw blade or nail cutter.
- Cut the replacement shake to width, leaving a 1/4-inch gap on each side for expansion.
- Slide the new shake into position, stopping about 1 inch below its final position.
- Nail through the shake at the correct exposure line using stainless steel or hot-dipped galvanized nails, per CSSB fastener specifications. Two nails per shake, 3/4 inch from each edge.
- Drive the shake up to its final position using a block and hammer, covering the nail heads with the course above.
Repair vs. replace decision checklist:
- More than 20% of shakes show rot, cupping, or splitting: lean toward full replacement
- Soft or spongy decking beneath the shakes: replacement required
- Flashing at chimney or walls is rusted through or missing: professional repair needed
- Single or isolated damaged shakes with sound surrounding courses: repair is appropriate
For the repair-vs-replace decision in Wisconsin conditions, the Am-exteriors blog covers this in detail.
Pro Tip: Use stainless steel nails on cedar. Galvanized nails can react with cedar's natural tannins over time, causing staining and accelerated corrosion at the nail hole. Stainless steel is the CSSB-preferred fastener for cedar applications.
Power-washing cedar roofs: why it's risky and how to hire safely
Do not pressure-wash a cedar shake roof with high PSI. This is not a caution about technique. It is about the physics of wood fiber. OSU Extension documents that high-pressure washing strips healthy wood fibers, fractures shakes, and accelerates degradation. Inexperienced contractors routinely cause more damage in one cleaning session than years of weather would.
Soft-wash vs. mechanical removal:
- Soft-wash (preferred): Low-pressure application of a cleaning solution, dwell time, and low-pressure rinse. Safe for cedar when done correctly. Requires proper chemical handling and PPE.
- Mechanical removal (scraping/brushing): No chemicals, but labor-intensive and risks surface damage if done with metal tools or excessive force.
- High-pressure washing: Acceptable only when performed by a contractor with documented cedar experience, using controlled PSI (typically under 600 PSI for cedar), correct nozzle size, and proper standoff distance. Specify these in writing before any work begins.
Contractor hiring checklist for cedar cleaning:
- Ask for proof of liability insurance and workers' compensation coverage
- Request references from cedar shake cleaning jobs specifically
- Ask them to specify the PSI, gallons per minute, nozzle tip size, and standoff distance they will use
- Confirm they will not use a rotating or turbo nozzle on cedar
- Ask what cleaning solution they use and request the product's EPA registration number
- Get the full scope of work in writing before signing anything
A contractor who cannot answer questions 3 and 5 has not cleaned cedar roofs before. Move on.
What does a professional cedar-roof maintenance visit include?
A quality maintenance visit covers more than cleaning. Expect a written scope of work that includes a full inspection, safe cleaning, targeted preservative application if the roof condition warrants it, flashing check, attic ventilation assessment, and a written warranty on workmanship.
Sample scope-of-work items to request:
- Full visual inspection of all shake surfaces, valleys, ridges, hips, and eaves
- Inspection of all flashing (chimney, wall, skylight, pipe boots)
- Attic ventilation assessment (soffit and ridge vent condition)
- Soft-wash cleaning with specified product and EPA registration number
- Mechanical removal of moss mats where present
- Preservative or water-repellent application (product name, EPA registration, application rate)
- Replacement of up to a specified number of individual shakes (agree on this allowance upfront)
- Debris disposal and site cleanup
- Written report with photos of findings
Order-of-magnitude cost estimates for common services:
| Service | Typical Range |
|---|---|
| Visual inspection only | $150 |
| Soft-wash cleaning (average home) | $300 |
| Preservative application | $400 |
| Single shake replacement (per shake) | $25 |
| Full maintenance visit (inspect + clean + treat) | $700 |
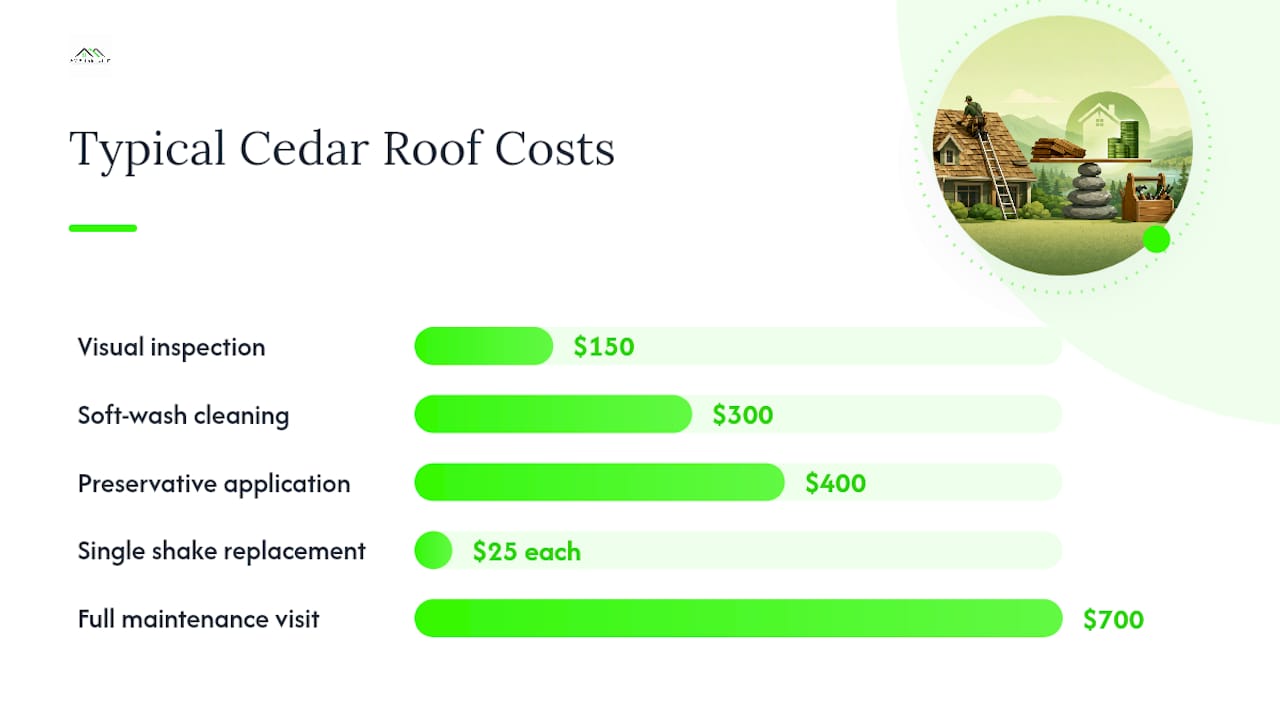
These are general estimates for the Midwest market. Prices vary by roof size, pitch, access difficulty, and local labor rates. Always get at least two written bids.
Questions to ask every contractor:
- Can you provide the EPA registration number for any biocide or preservative you plan to use?
- Do you carry a current MSDS (Safety Data Sheet) for each product?
- What is your workmanship guarantee, and is it in writing?
- Are your crews covered by workers' compensation insurance?
Pro Tip: A contractor who offers a maintenance visit without a written scope is guessing at the work. Require a written scope before any money changes hands, and keep a copy for your records alongside photos from the visit.
For general exterior maintenance scheduling principles, this homeowner maintenance guide from a home-services perspective illustrates how seasonal scheduling logic applies across different systems.
A Wisconsin contractor's take on what cedar maintenance actually gets wrong
Most homeowners who call about a failing cedar roof have the same story: the roof looked fine, they skipped a few years of maintenance, and now there is rot in the decking. The surface of cedar weathers gracefully. That gray patina looks like stability. It is not.
The three priorities that matter most in Midwest climates:
- Moisture control first. Attic ventilation failures are the most common problem we see that homeowners do not know about. A roof can look perfect from the outside while the decking rots from below because of inadequate soffit or ridge venting. Check the attic every year.
- Clean on schedule, not when it looks bad. By the time moss is visible from the ground, it has been holding moisture against the wood for months. Clean before you see a problem.
- Professional inspection every 3–5 years. A trained eye catches flashing gaps, early rot, and ventilation problems that a homeowner inspection misses. The cost of an inspection is a fraction of the cost of a decking replacement.
The most-missed maintenance item: flashing at the chimney base. It corrodes, lifts, and separates quietly. Water follows the gap straight to the decking. By the time there is a ceiling stain, the damage is already significant.
Am-exteriors handles cedar-roof inspections and maintenance in SE Wisconsin
Cedar shake roofs in Southeast Wisconsin face a specific set of challenges: freeze-thaw cycles, heavy snow loads, and humid summers that accelerate biological growth. Am-exteriors provides professional cedar-roof inspection, soft-wash cleaning, preservative application, and repair or replacement for homeowners across the region.
Every visit starts with a written scope of work and ends with a documented report. Am-exteriors crews have over 25 years of owner-operated experience with Wisconsin exterior conditions, and the company handles insurance claim assistance when storm damage is part of the picture. If an inspection reveals active leaks or storm damage, emergency roof repair is available. For homeowners ready to schedule a full inspection or get an estimate on cleaning, preservative treatment, or roof repair and replacement, contact Am-exteriors directly through the website to request a written bid.
Sources
- Care and maintenance of wood shingle and shake roofs | OSU Extension Service
- Installation, care, and maintenance of wood shake and shingle roofs | USFS Research
- Field testing of protective coatings for western redcedar shingle and shake roofs (Washington State Parks / NPS)
- Installation, care, and maintenance of wood shake and shingle roofs (Inspectapedia / Morrell summary)
Recommended
- Repair or Replace? How to Know When Your Wisconsin Roof Is Done | AM Exteriors Blog
- Dodge County WI Roof & Siding Replacement: Homeowner's Guide | AM Exteriors Blog
- Roof Replacement in Dodge County, WI | AM Exteriors LLC
- Storm Damage Roof Repair Near Me: Wisconsin Homeowner's Guide | AM Exteriors Blog